How to install MYSQL on Mac OSX
In my last post, I talked about removing MySQL from your system. But now, let's chat about how to install it properly. First things first, in this day and age of package managers, it's just plain crazy to install anything manually.
Luckily, for us Mac users, we have a fantastic component manager called Homebrew that we can use to install additional packages. If you haven't already installed this handy tool, don't waste any more time and get it installed right away using the following command:
/usr/bin/ruby -e "$(curl -fsSL https://raw.githubusercontent.com/Homebrew/install/master/install)"You can now install everything you need on your Mac OS, including MySQL, with just one simple command. It's quick and easy, here's how:
brew install mysqlThe current version is 8.x, but personally, I still prefer using 5.7. If you're like me and prefer the older version, this command will come in handy:
brew install mysql@5.7Great, our MySQL server is now installed and ready to roll. Let's take a moment to configure it a bit.
To start the server:
mysql.server startTo connect:
mysql -u root
Set the password to the root user:
ALTER USER 'root'@'localhost' IDENTIFIED BY 'MyNewRootPAssword';If you're having trouble with the terminal not recognizing the MySQL command at this stage, you can create a link to version 5.7 or whichever version you've chosen as your favorite:
brew link --force mysql@5.7To enable automatic launch of the MySQL server upon computer reboot:
brew services start mysqlTo restart MySQL server:
brew services restart mysql
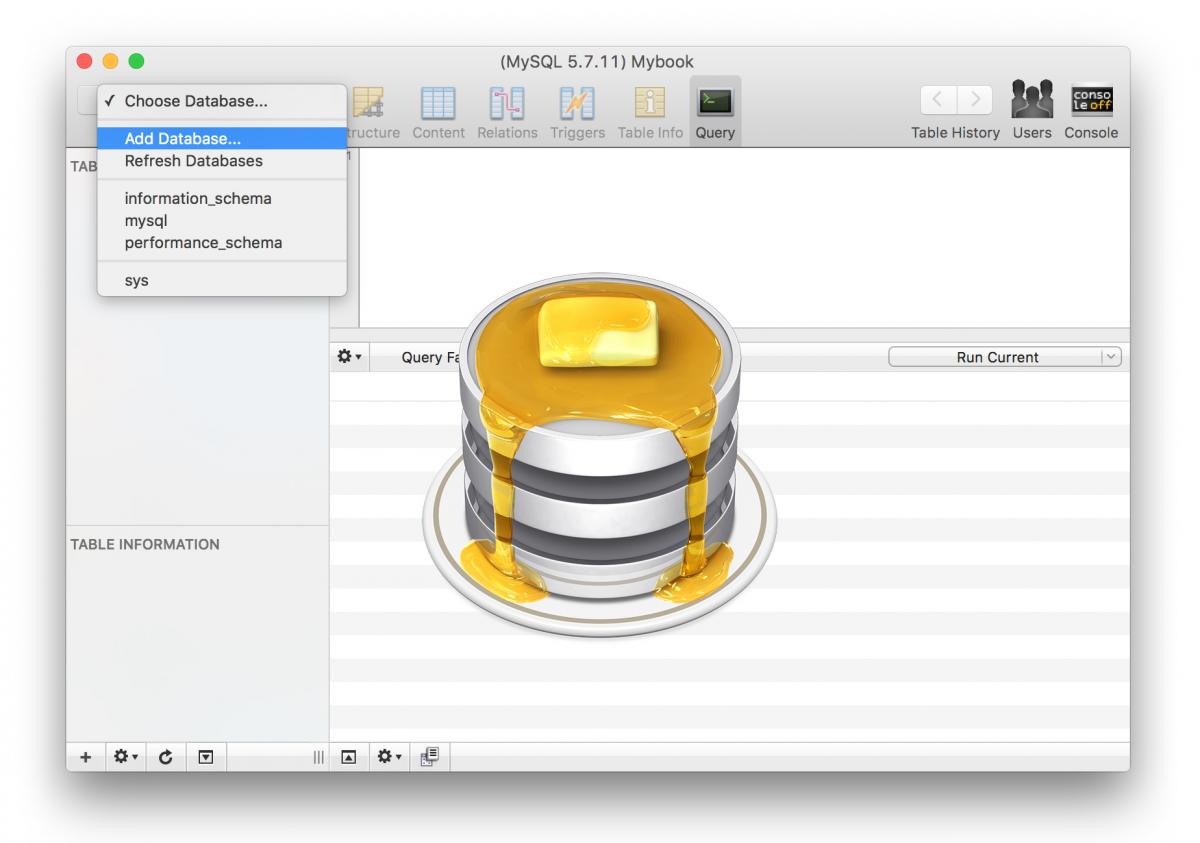
When it comes to manage databases in MACOSX, I personally prefer using the Sequel Pro program over the infamous PhpMyAdmin. You might want to give it a try and see if it works for you too =)
The best part? The program is completely free and incredibly convenient. It even allows you to connect to your remote servers via SSH, and works perfectly fine for your local server as well!